
Rest API
The Rest API plugin connects your food mobile application with your WordPress website. It syncs all the food and restaurant-related data like restaurant listings, food listings, order details etc on your website with the FoodMato mobile application.
Installation of Rest API
Like all other premium plugins of FoodMato , the installation of Rest API requires the core plugin.
There are two ways to install the plugin.
- Manually: You can install the plugin manually using SFTP or FTP tools. Click here to learn the process.
- Automatically: You can install the plugin automatically from the backend of your website. Click here to learn the process.
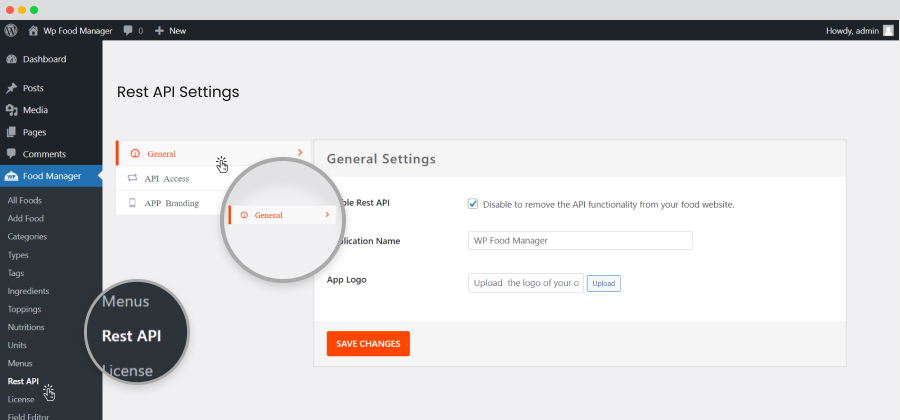
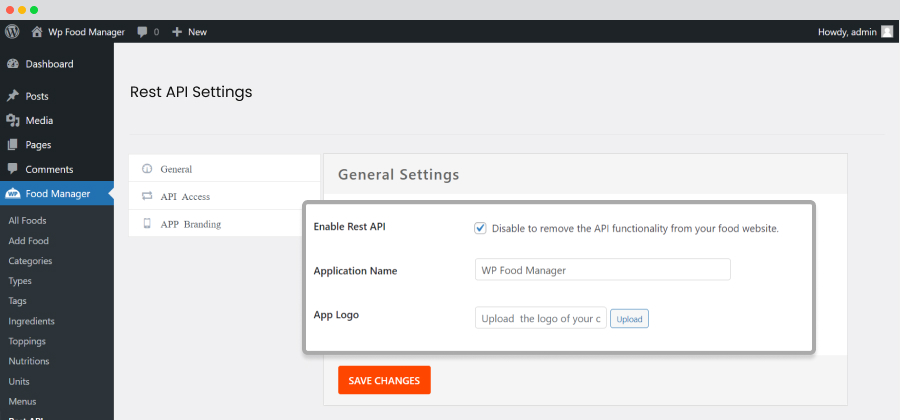
General Settings
The ‘General Settings’ option allows the user to use the application with ease.
Follow the path to go to ‘General Settings’.
- WP-admin>>Food Manager>>Rest API>>General Settings
- It has three options.
- Enable Rest API Key: Tick the box if you want to enable the Rest API functionality on your website.
- Application Name: Put the name of the application.
- App Logo: Upload the logo you want to display on your mobile application.
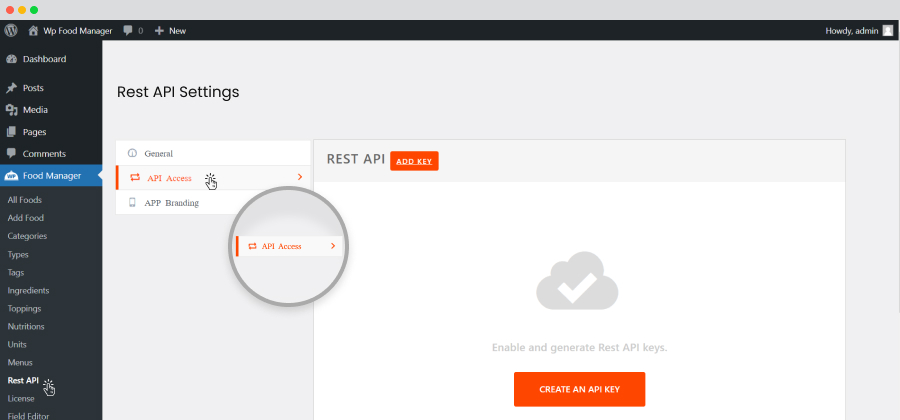
API Access Settings
The ‘API Access’ option allows you to create an API key, which you should enter in the application while logging in.
Follow the path to go to API Access.
WP-admin>>Food Manager>>Rest API>>API Access
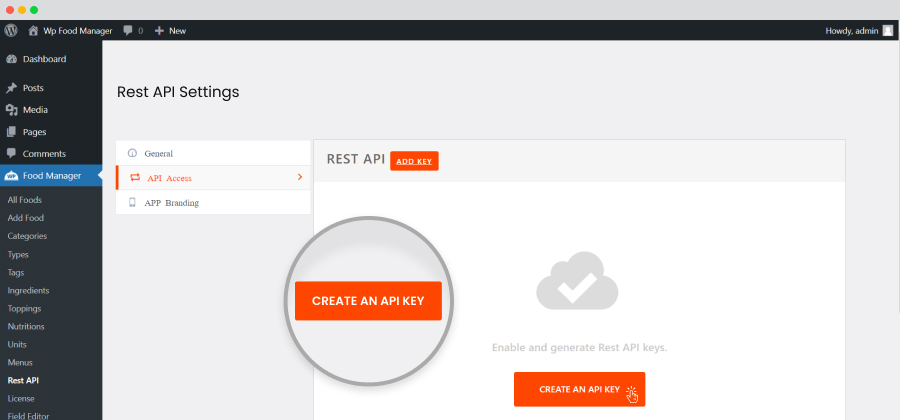
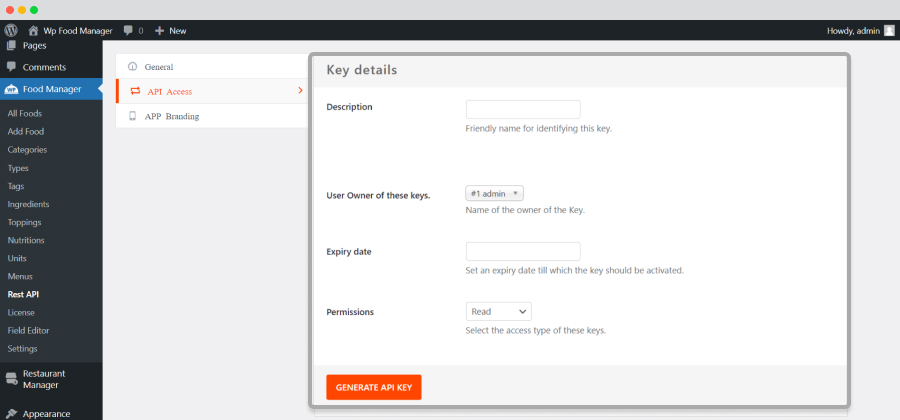
Take the steps mentioned below to create your API key.
- Go to API Access.
- Hit the ‘CREATE AN API KEY’ button.
- Give all the required details in their respective fields.
- Description : Give a name to differentiate one key from another.
- User Owner of these Keys: Select the person who can use the key from the dropdown.
- Expiry Date: Put the date till which the API key shall remain active.
- Permissions: Select the type of permission from amongst – Write, Read, or Both.
- Click the ‘Generate API Key’ button to generate the API key.
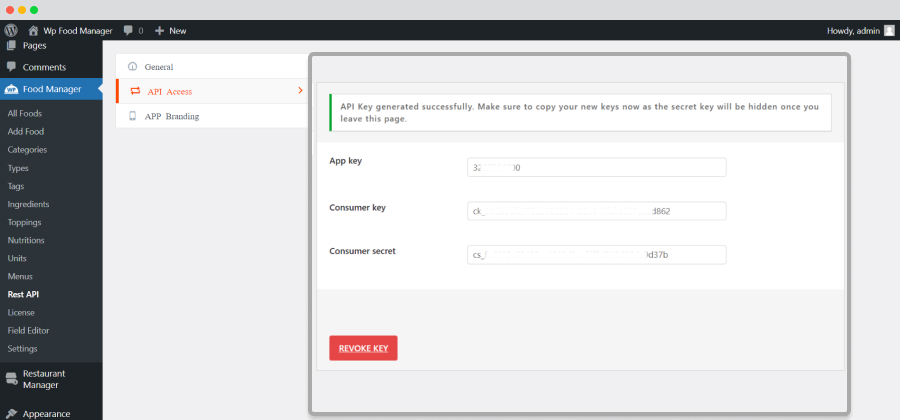
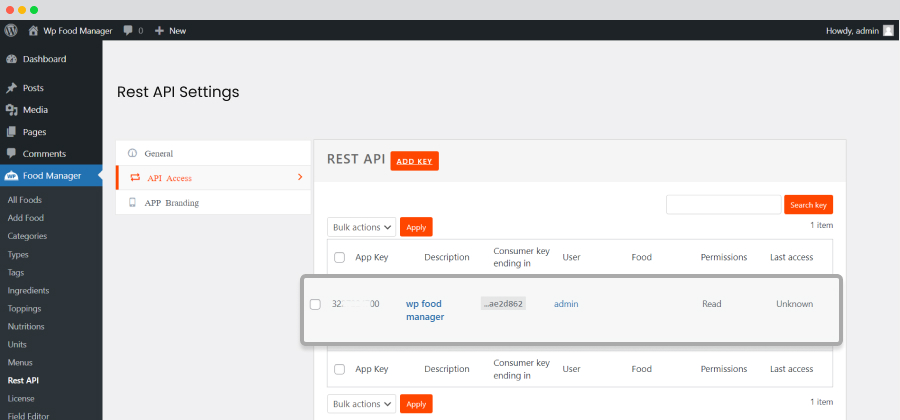
- After generating the API key, click ‘API Access’ to see all the keys generated on this website.
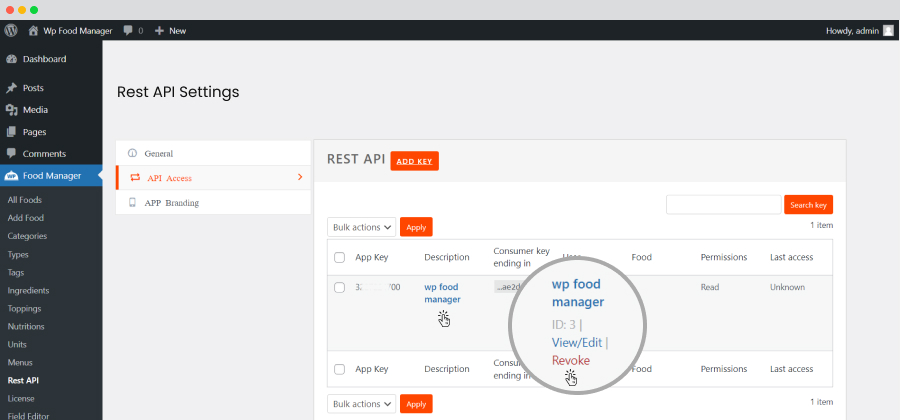
- To revoke an API key, click on the key name under the ‘Description’ section. and then Revoke.
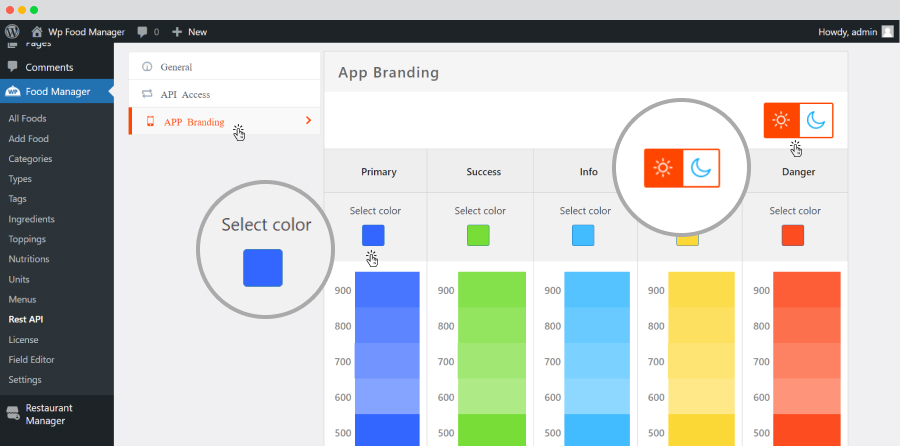
App Branding
The ‘App Branding’ option allows you to select the application color.
Color selection is crucial in application branding. Consider your food business theme while selecting the color. For example, FoodMato uses orange and white colors as its brand identity. Hence, the application should have the same color.
Follow the below-mentioned path to go to the ‘App Branding’ option.
WP-admin>>Food Manager>>Rest API>>APP Branding
Take the steps discussed below to set your app color.
- Go to APP Branding.
- It has the following options.
- Primary: The main color of the application.
- Success: Message’s color of the application.
- Info: Color of the displayed information of the application.
- Warning: Warning message’s color.
- Danger: Application message’s color.
Check how your selected colors for the application look after activating the dark and light theme. Go to the mode on the right-hand side of the app branding setting and activate the dark and light themes to test the look.
 English
 German